

Reset Root Password with the Helper ISO
Every EDBB VPS ships with a password-helper ISO. Booting from it lets you assign a new root password without reinstalling the operating system; it changes account data on the disk.
Before You Start
Control Panel Access Ready
Confirm you can sign in to the EDBB Control Panel . All steps happen from the service Control Panel.Safe Maintenance Window
Plan a brief outage. The VPS reboots twice—once to load the helper ISO, once to return to disk.New Password Prepared
Generate a strong credential (use a password manager) so you can paste it the moment the helper prompts for input.Step 1 – Open the Control Panel
1
Log in
Sign in to the EDBB Control Panel, go to Services
, and select the VPS that needs a fresh root password.
2
Check power state
Save work and shut down the guest cleanly when possible before using a forced boot into recovery media.
Step 2 – Boot from the Password Helper ISO
1
Enable console access
In the quick action column on the left, expand the red VNC Off
button and choose Enable VNC
. If you need extra guidance, see the
VNC guide.
2
Open Installation → ISO Boot
Switch to the Installation
tab at the top of the service view, then click the ISO Boot
sub-tab.
3
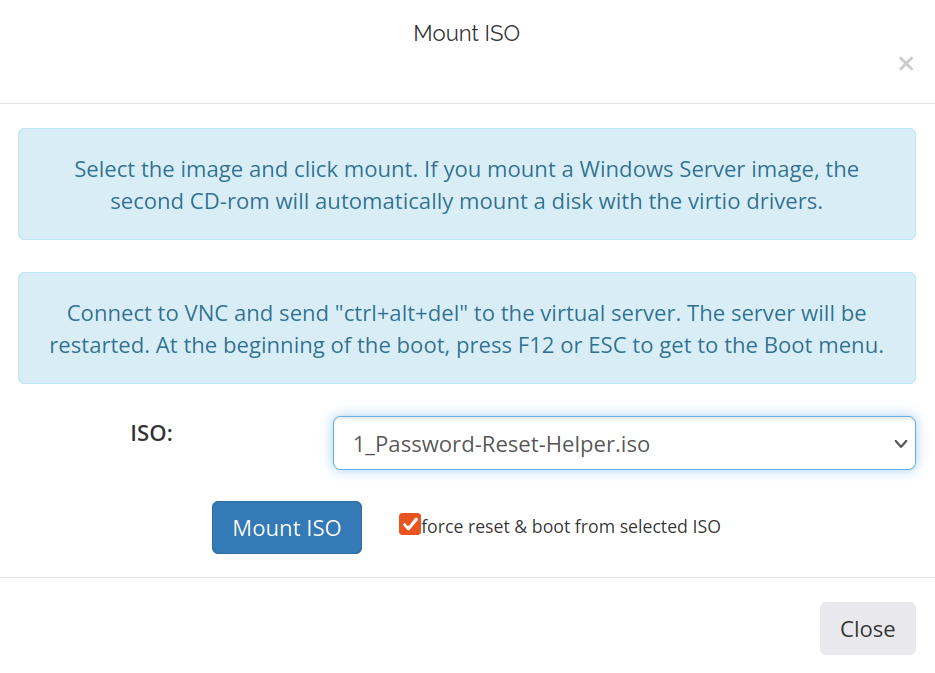
Mount the helper ISO
Select 1_Password-Reset-Helper.iso
, tick Force reset & boot from the selected ISO
, and click Mount ISO
.
4
Open the console
Launch the built-in console (or your preferred VNC client) to watch the helper boot.
Step 3 – Set the New Root Password
- Click inside the console window to capture the keyboard.
-
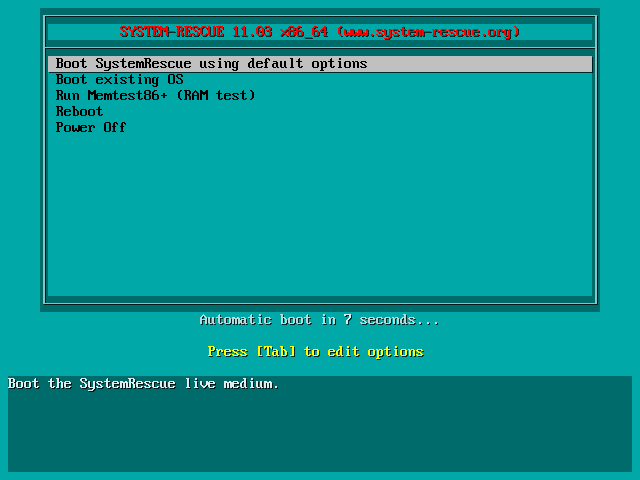
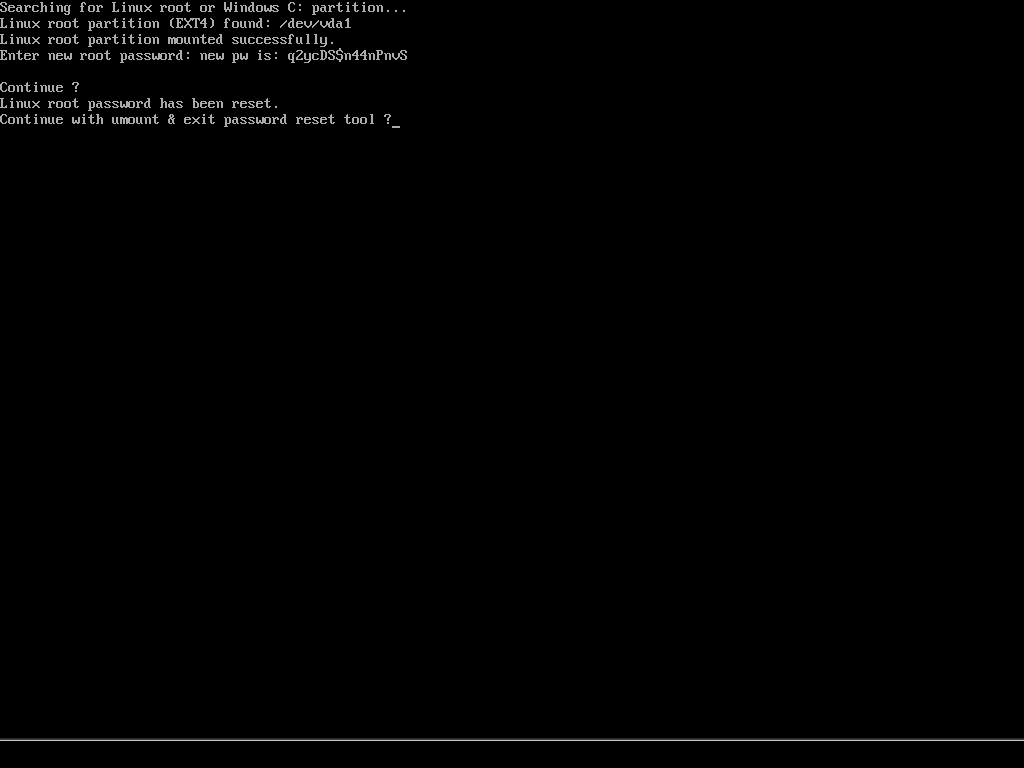
Wait until the helper finishes loading—you’ll see the on-screen prompt.
-
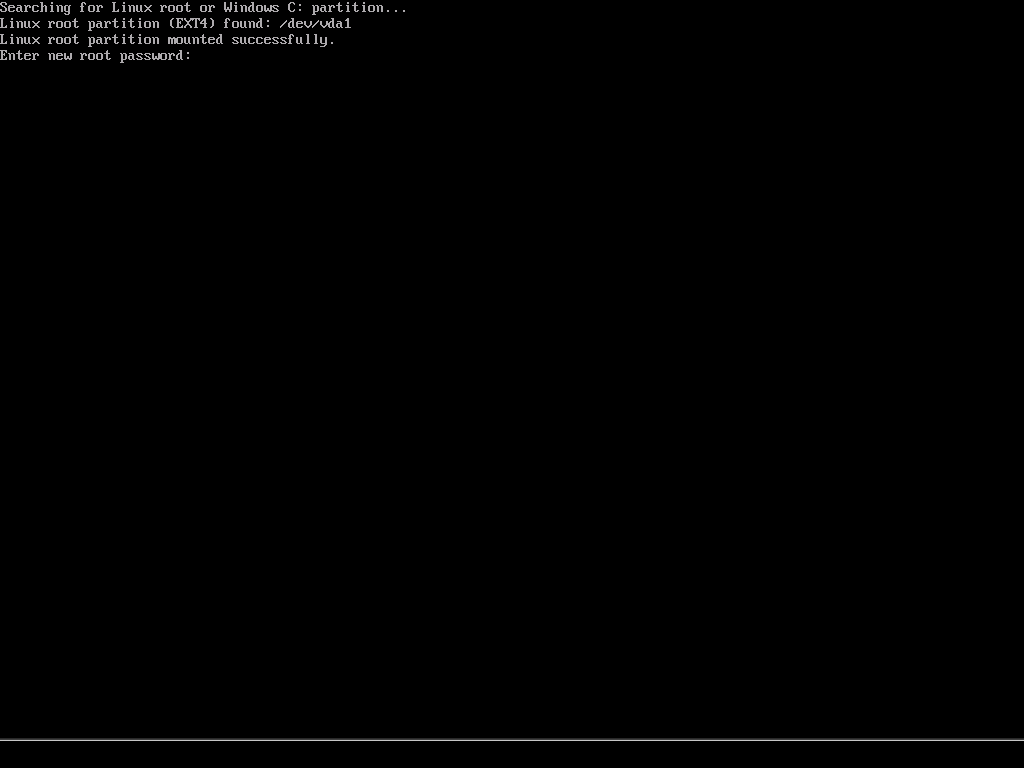
Enter the new root password and press Enter.
-
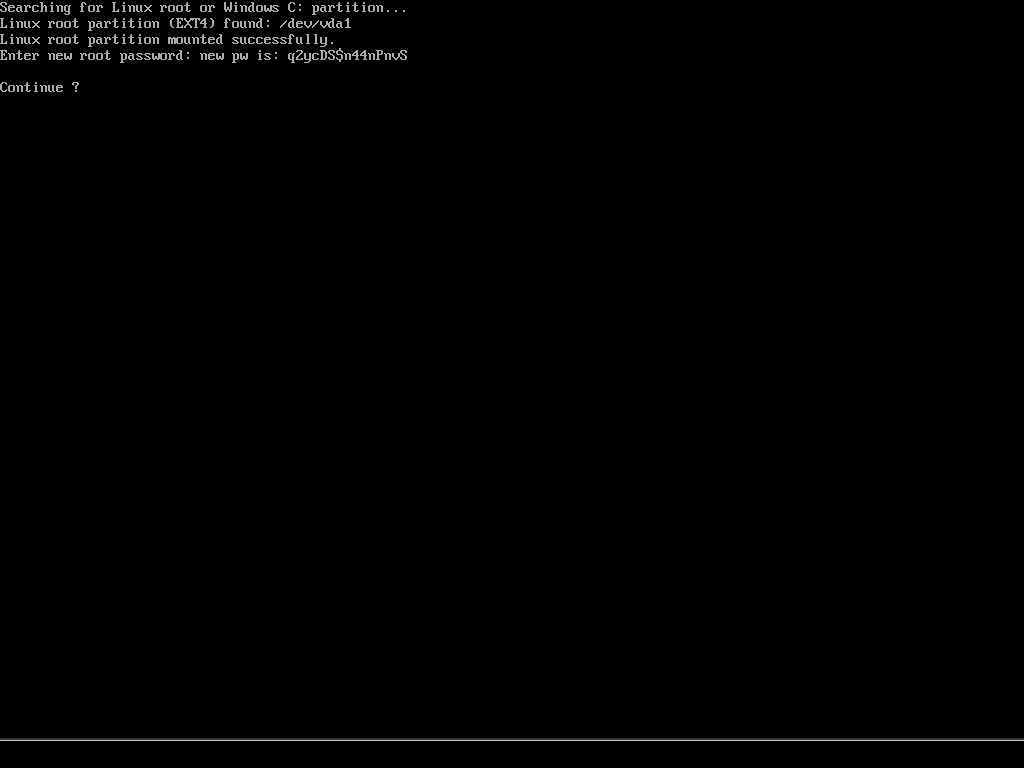
Re-enter the password to confirm. A success message appears.
-
Press Enter again. The helper automatically unmounts itself and reboots the VPS from disk.
-
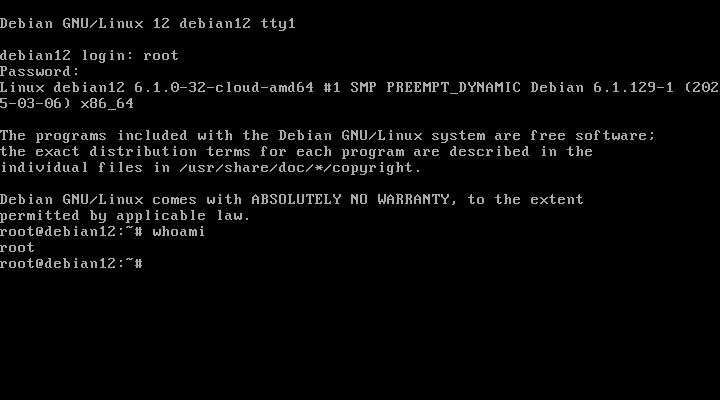
Wait for the operating system to boot, then verify the changed account through the console. SSH may still disallow root or password login according to its configuration.
Step 4 – Return to Normal Boot
1
Unmount the ISO
Back in the Installation → ISO Boot
tab, click Unmount
so the VPS boots from disk next time.
2
Disable console access
Turn VNC back off if it is only needed for recovery.
3
Secure the credential
Store the new password in your team’s password manager and share it only with trusted administrators.
Aftercare Checklist
- Replace password authentication with SSH keys once you confirm access.
- Review sudo/root accounts regularly to ensure they’re still required.
- Keep a copy of this playbook in your team’s incident response runbook for quick reference.