

Find the IP-change controls
Sign in to the EDBB Control Panel, open Services, and select your VPS. On the Dashboard, the service-details card on the right contains Primary IPv4.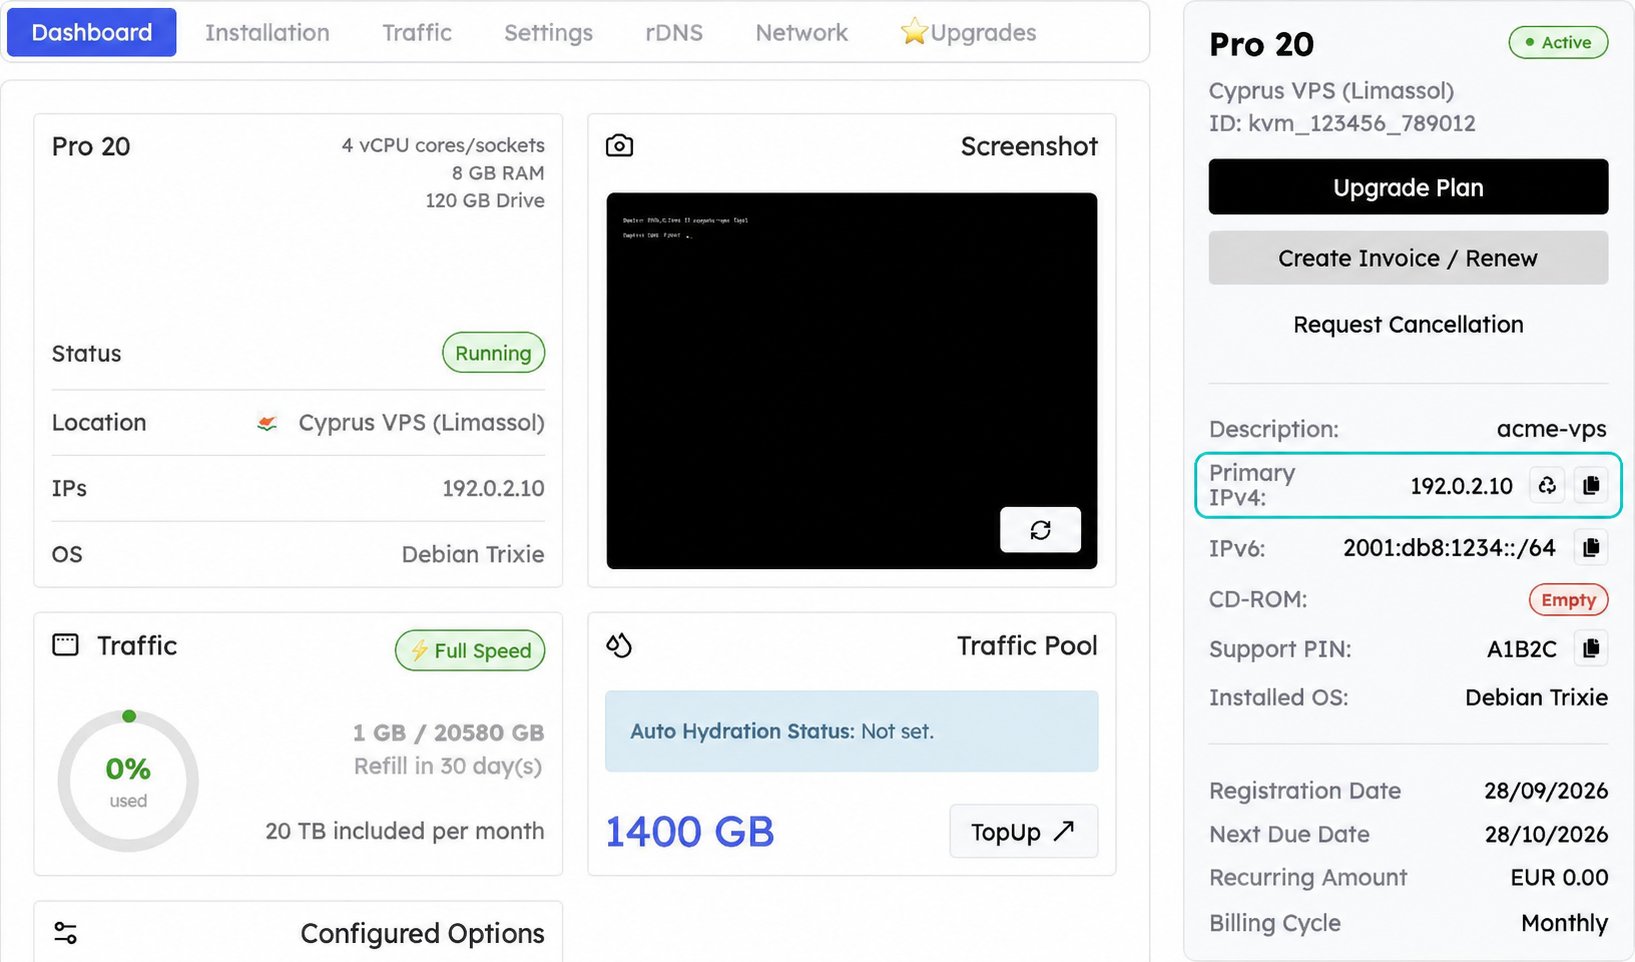
Find Primary IPv4 in the service-details card. Addresses, service ID and PIN are demonstration values.
Free IP Change
The panel offers one free primary IPv4 change within the first 24 hours after delivery. The replacement is assigned randomly. EDBB aims to use a different /24 subnet, subject to availability.1
Prepare access
Open the VNC console before changing the address. Existing SSH or RDP connections to the old IP will no longer provide access after the replacement.
2
Open the confirmation
Click the recycle icon beside Primary IPv4. The adjacent copy icon only copies the current address.
3
Read the warning
Review the Change IPv4 Address dialog. Close leaves the address unchanged. Select Change IP now only when you are ready to release the old address and configure the replacement.
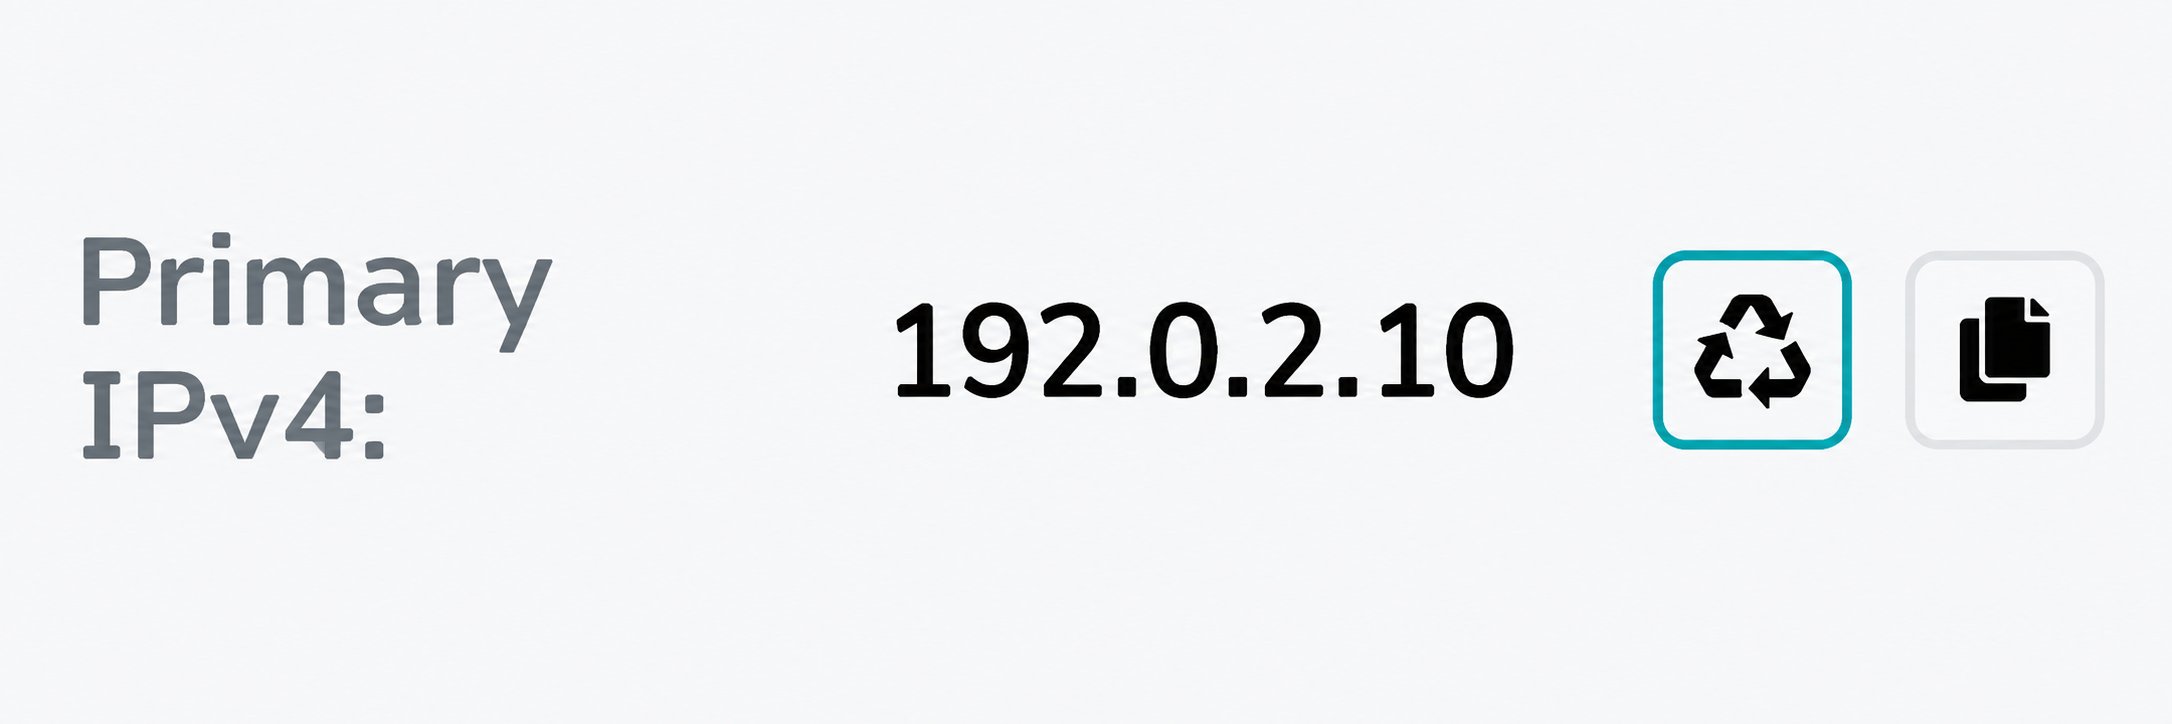
Use the highlighted recycle button to open the change dialog. 192.0.2.10 is an example address.
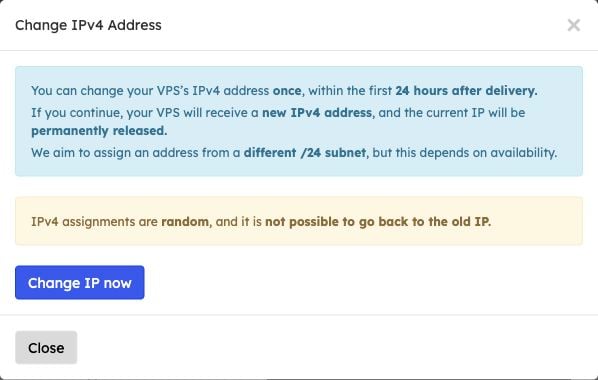
The confirmation explains the consequences before you submit. Close exits without changing the IP.
Paid changes
Open Services → Order New Services → Product Addons, or use Product Addons directly. The IP Change button below your Dashboard cards opens the same page.
Select your VPS in the appropriate card, then click Order Now. Both options let you choose Select Old IP in the cart; Bespoke also provides Select New IP. Review applicable VAT and the final total before checkout. Follow the linked guides for screenshots and the full process.
The add-on page states delivery within seven minutes of payment confirmation. These options replace an existing address; they do not add an extra IP. A replacement does not guarantee a particular reputation, geolocation result or country reachability.