

Reinstall from the Installation Tab
Install the operating system
1
Locate your VPS in the control panel
Sign in to the
EDBB Control PanelGo to Services
and select the VPS you would like to reinstall.
2
Switch to Installation tab → Select Automated Installers
Use the Installation
tab on the service Control Panel, then stay on the default Automated Installers
view.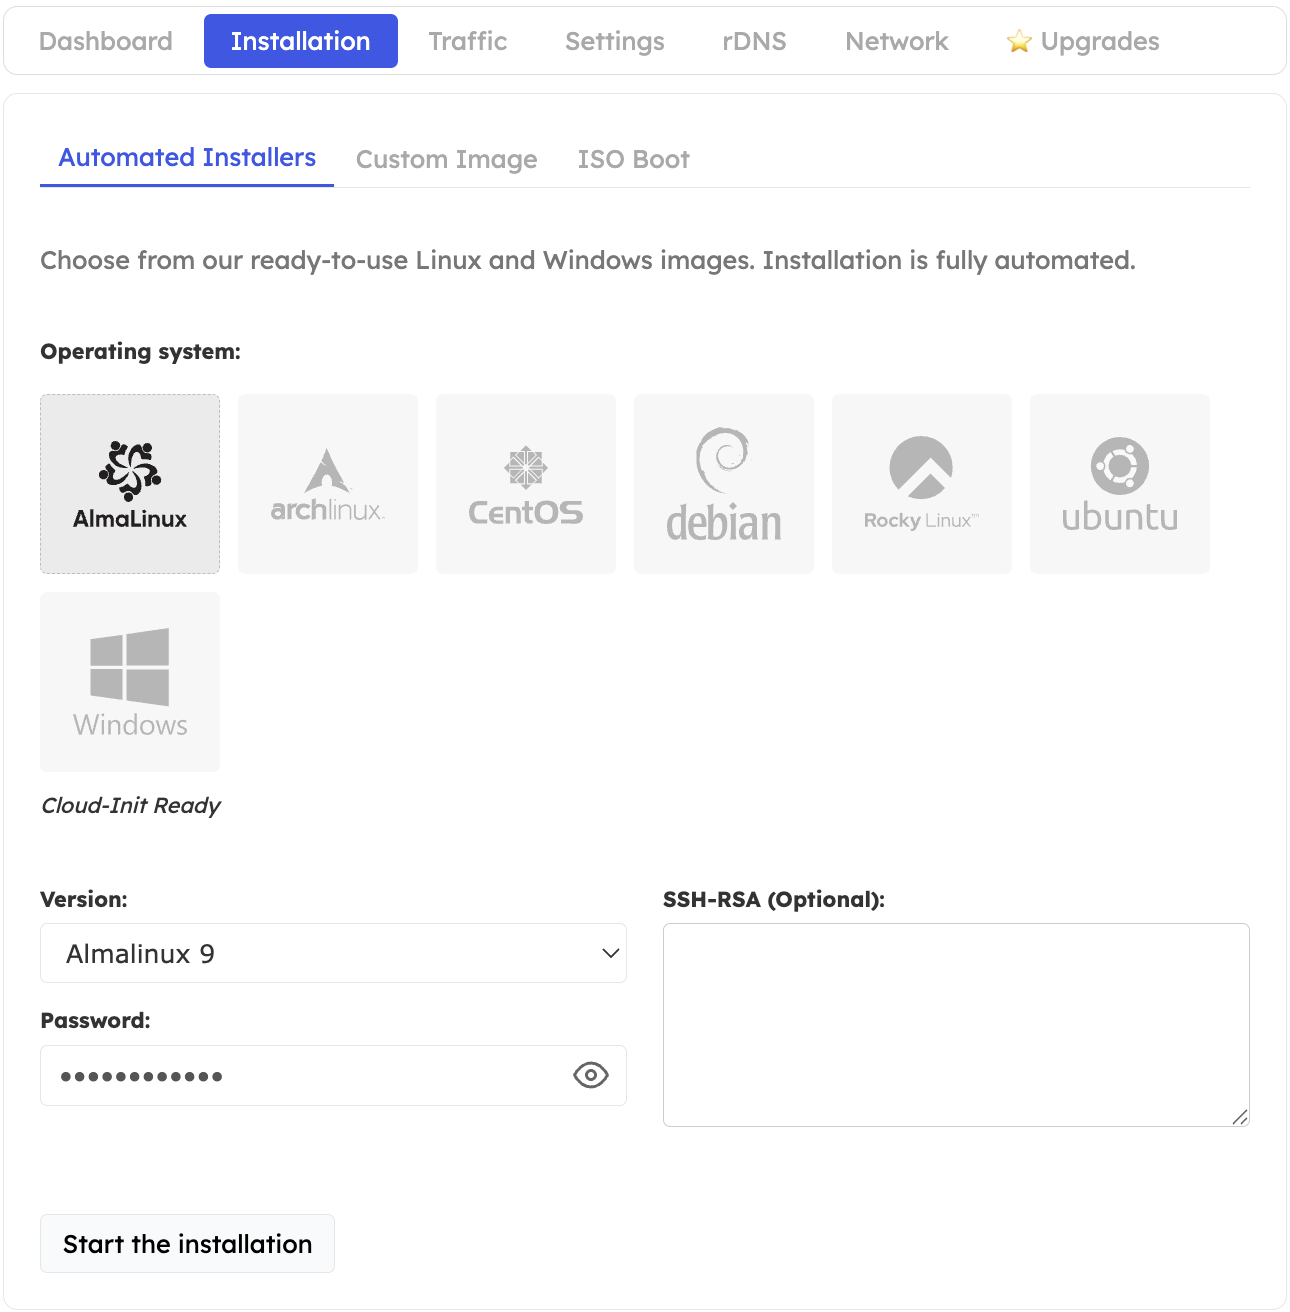
3
Select the operating system
Click the tile of the OS family you would like to install (Ubuntu, Debian, Rocky, AlmaLinux, Windows Server, etc.). The available releases are shown in the version selector.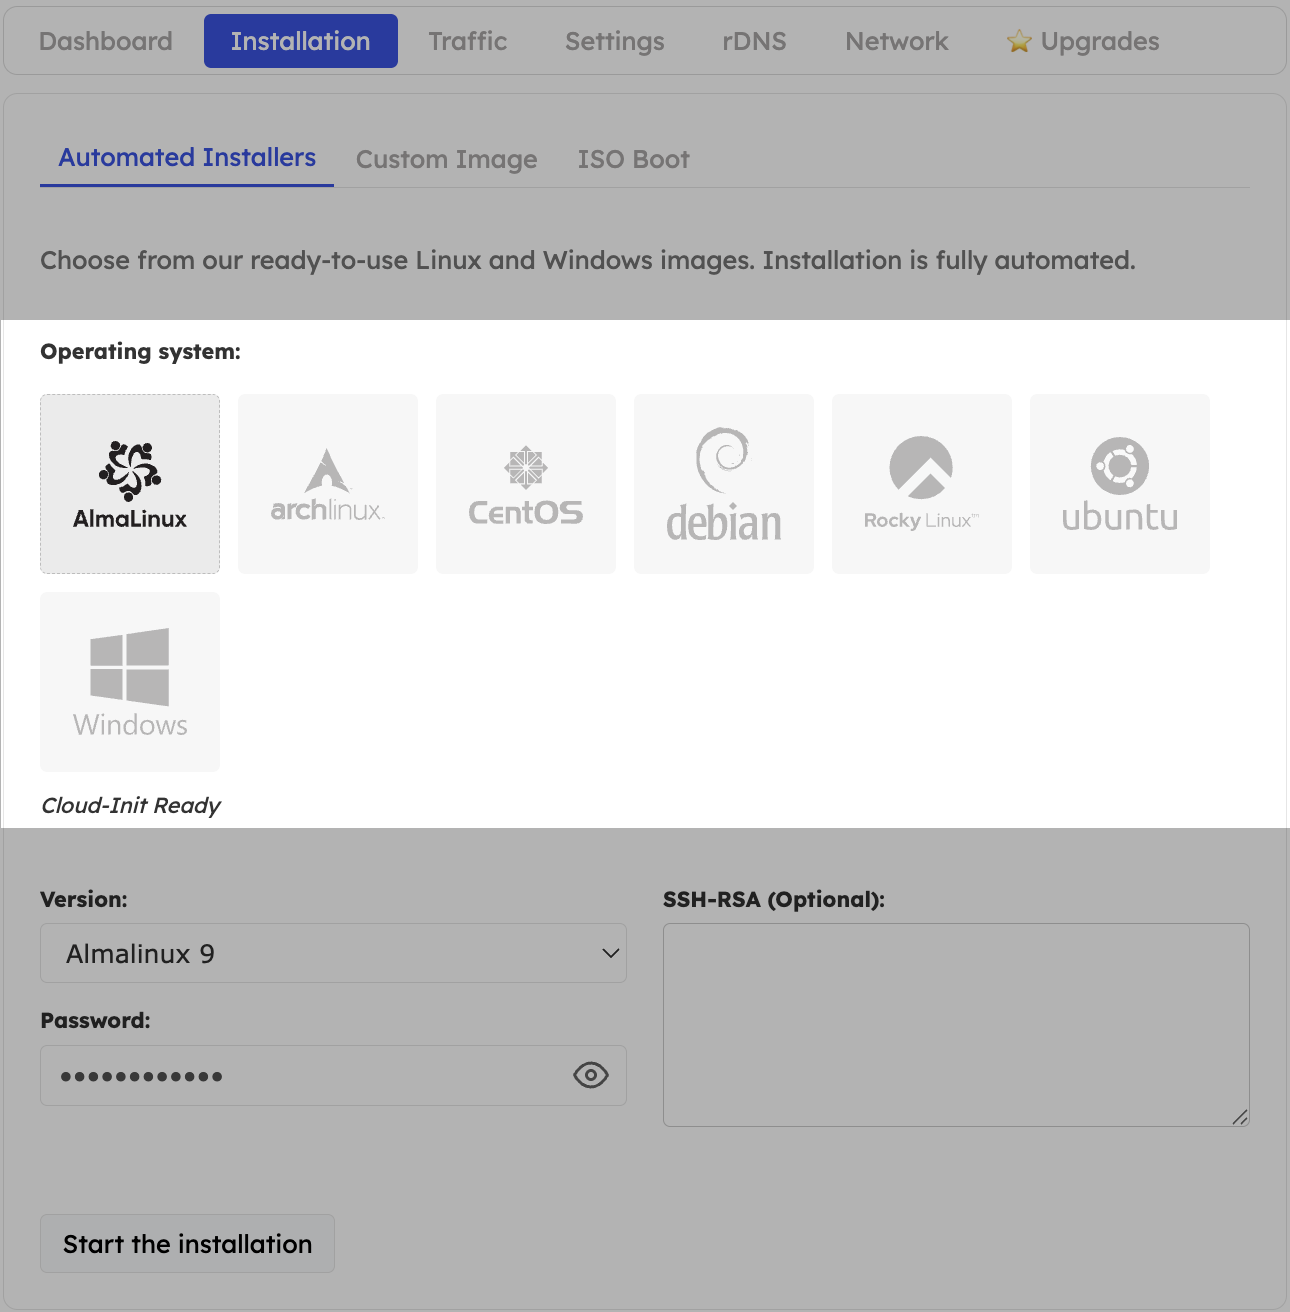
4
Choose the OS version
Use the dropdown below the OS family tile to pick the version/release you would like to install.
5
Set password and launch
Enter a password (or paste an SSH public key) and click Start the installation.
Our Control Panel initiates the installation.We do not send a new Welcome Email when you reinstall! The password you specify during installation will be your new root (Linux) or Windows Administrator password.