Uploading a custom ISO lets you boot recovery toolkits, bespoke installers, or
legacy operating systems that are not part of the EDBB library. The upload is
temporary—plan to install or capture data within the retention window.
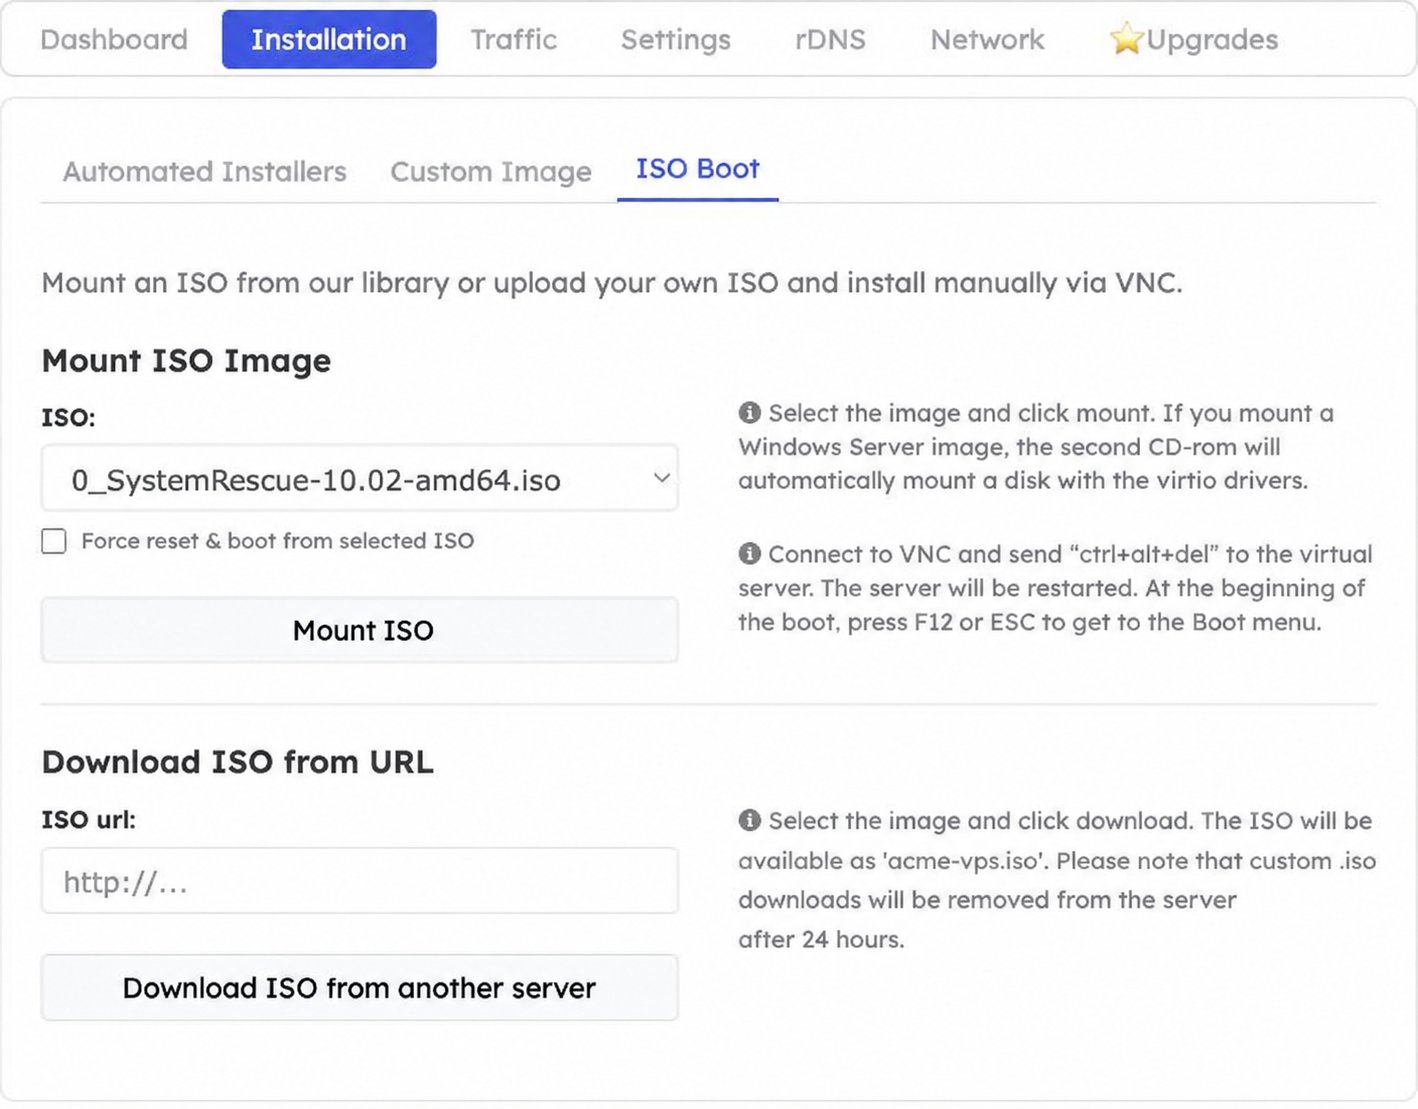
Open Installation → ISO Boot. This screen contains both the image selector and Download ISO from URL.
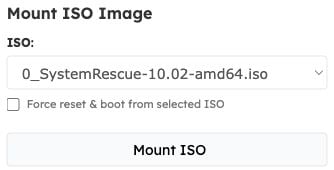
ISO Boot contains mounting controls above the custom URL download form. The filename uses a demo value.
Host the ISO on a direct HTTPS URL without authentication, captchas, or
one-time tokens. Do not make sensitive media publicly accessible to satisfy this requirement; ask support for an appropriate transfer method instead.
Sign in to the EDBB Control Panel, open your VPS, and switch to Installation. Choose the ISO Boot tab.
2
Paste the ISO URL
In Download ISO from URL, paste the direct link (the documentation-only example https://cdn.example.com/os/custom.iso must be replaced with your real image URL), then click Download ISO from another server.
3
Wait for the transfer
The Control Panel downloads the file into your account. Wait for the transfer to finish, then find the downloaded file in the ISO selector.
Enter a direct URL to your ISO. This example.com address is a placeholder, not a downloadable image.
Completed uploads receive an internal filename based on the service ID, such as kvm_DEMO.iso. Jot this down—you will select it in the mounting step.
Custom ISOs stay available for 24 hours. Re-upload them if you need another session later.
Unmount the ISO once you finish. Unmounting detaches the media; it is not proof that a retained copy has been deleted. Ask support if sensitive media needs earlier removal.
Keep local copies—expired files are purged automatically and cannot be restored.
Downloads that fail usually indicate an inaccessible URL. Verify the link by
running curl -I <your-link> from an external network and ensure
it returns HTTP 200 without redirects.