Mount ISO Images from the Control Panel
Mounting an ISO temporarily changes the boot order. Be ready for the VPS to reboot and save any work before you proceed.
Before You Start
🔐 Control Panel Access
Confirm you can sign in to the EDBB Control Panel and open the service Control Panel.
🕒 Maintenance Window
Plan a short outage—the VPS restarts when the ISO is attached.
🖥️ Console Ready
Enable VNC via the quick actions (Server On column) or follow the VNC enable guide if it is currently disabled.
Use the EDBB ISO Library
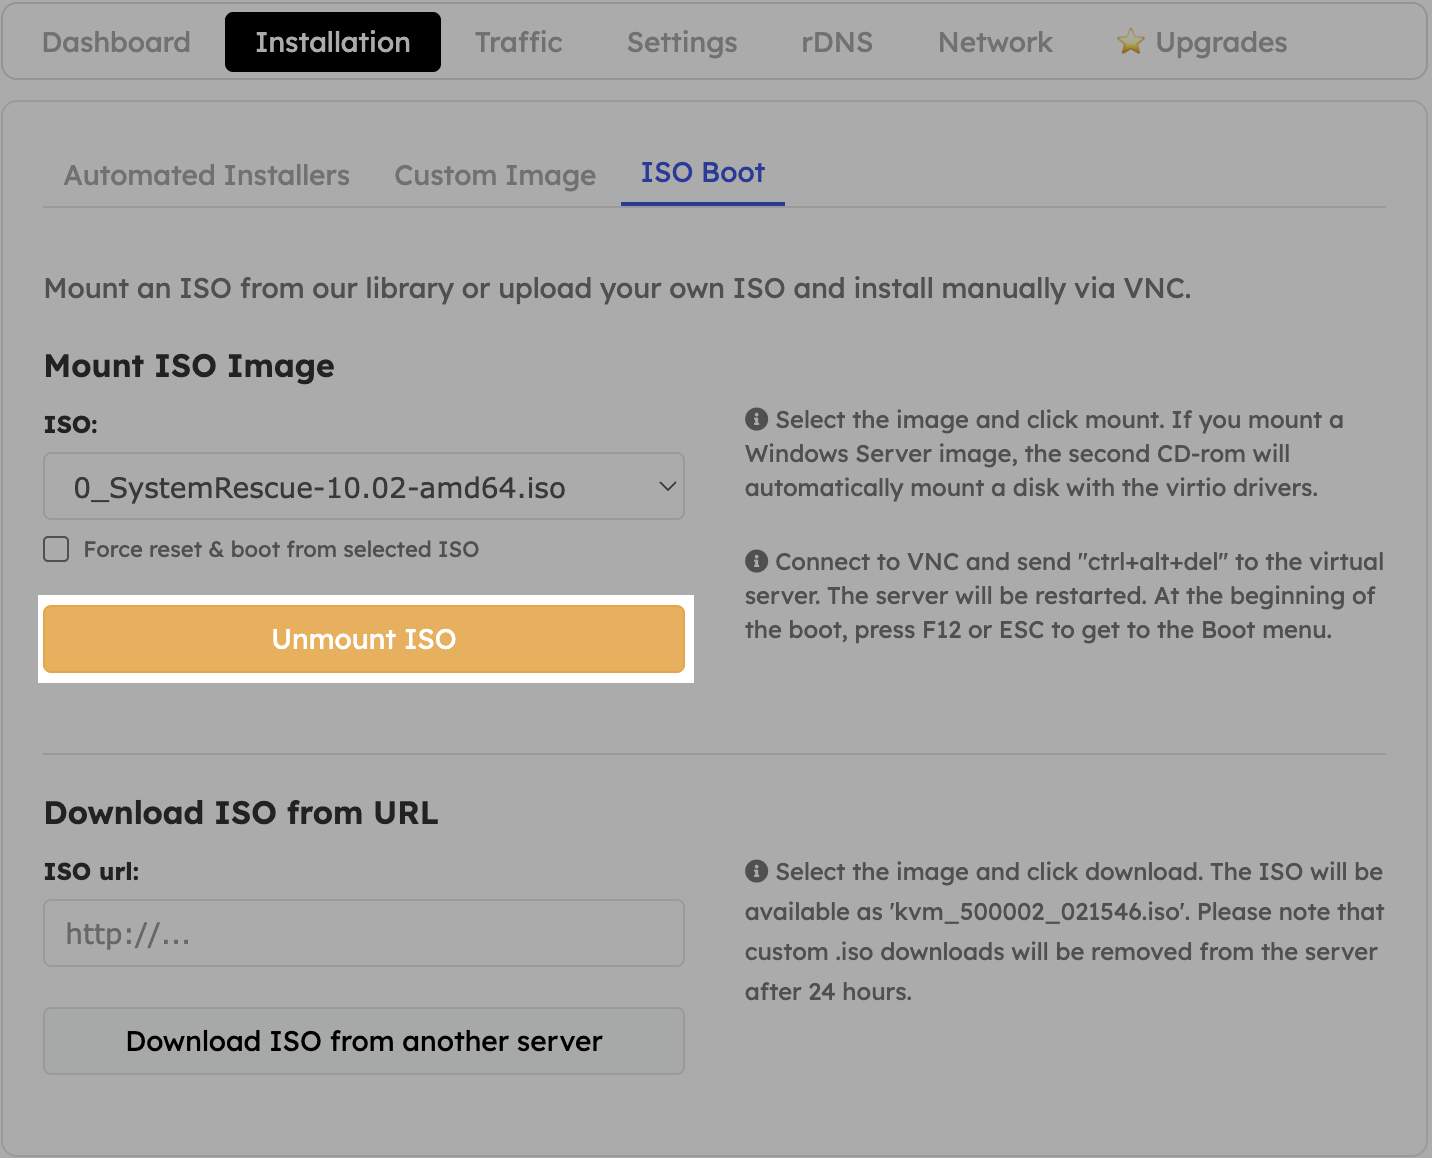
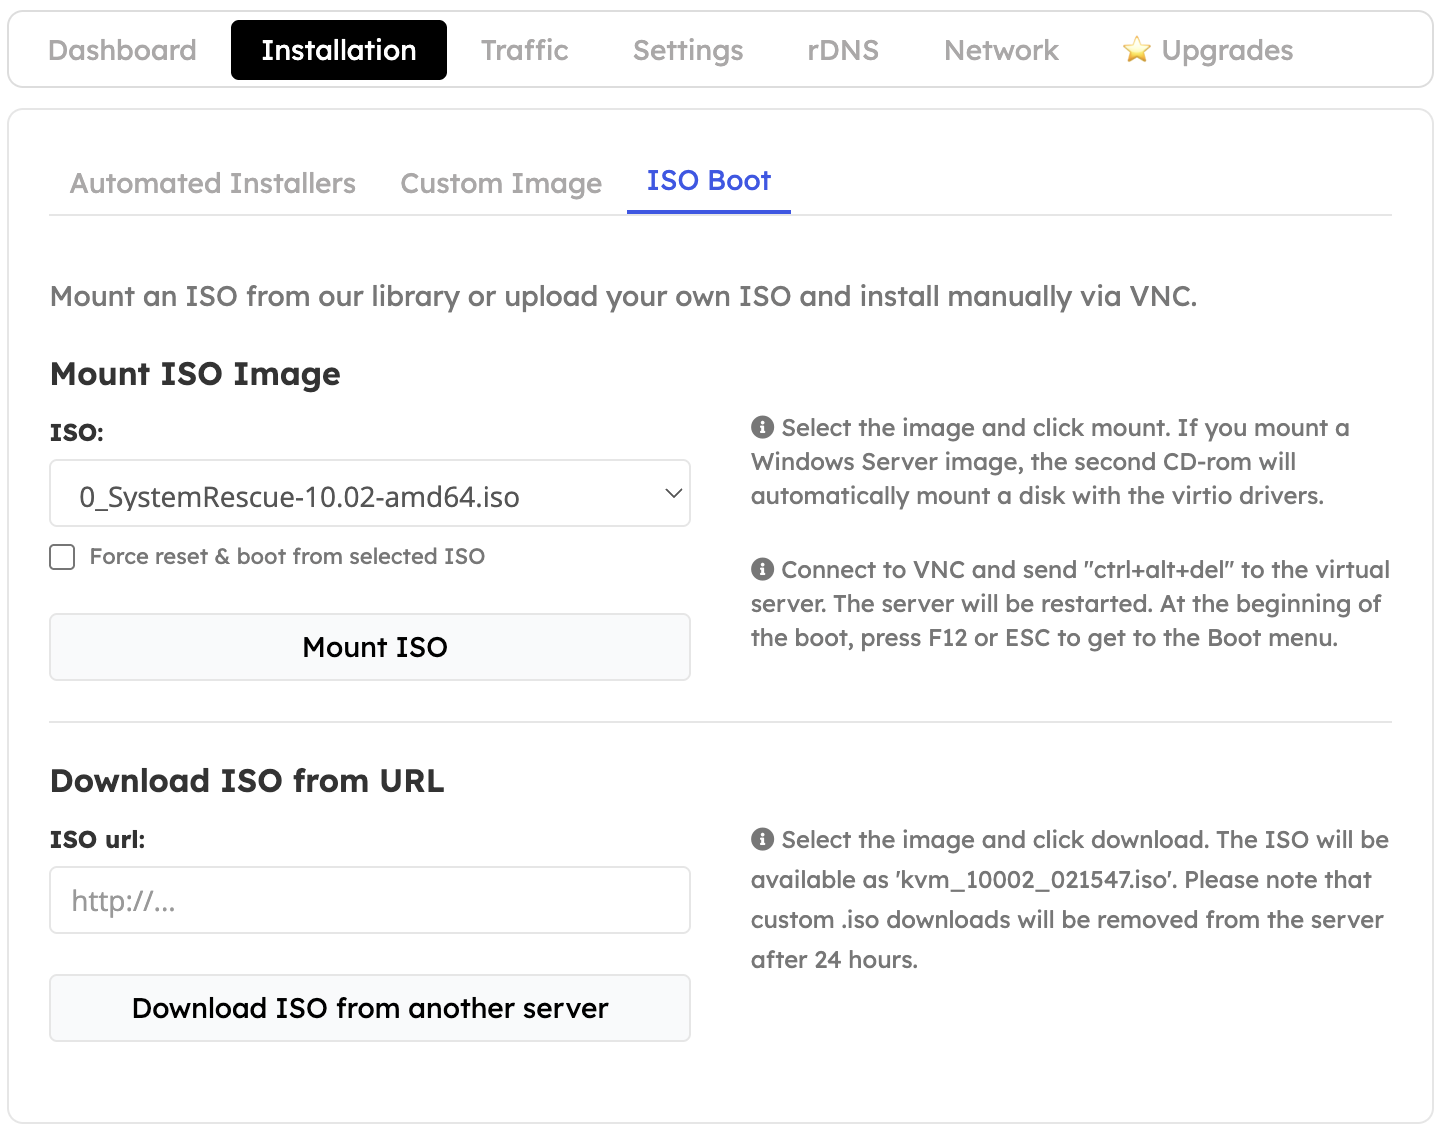
Open the Installation tab
From your VPS Control Panel, switch to Installation, then the ISO Boot sub-tab.
Pick an ISO
Choose from the built-in helper images (Linux rescue tools, Windows password helper, etc.).
Work from the Console
Follow boot prompts
Most ISOs ask you to press a key quickly—watch the console so you don’t miss the prompt.
Unmount When Finished
Unmounting ensures the VPS returns to its local disk on the next restart.