Bring Your Own Cloud-Init Image
Cloud-Init lets you boot a custom qcow2 image and execute first-boot automation (user creation, key injection, package installs) without touching the console. Make sure you keep independent backups—the upload process wipes the VPS disk.
#cloud-config instructions, creates users, injects SSH keys, installs packages, and runs commands so the server is ready without manual steps.
Why Use Cloud-Init
- Automated onboarding – preconfigure users, passwords, SSH keys, and services.
- Repeatable builds – the same image and user-data produce identical environments across regions.
- Custom stacks – ship bespoke templates or vendor images instead of the standard automated installers.
Prepare Your Image
🧰 Build & Clean
Export a qcow2 disk that already includes Cloud-Init. Remove SSH host keys and temporary data so the instance generates fresh credentials on first boot.
📝 Bring user-data
Keep your
#cloud-config YAML handy. You’ll paste it in Expert mode if you want to run custom tasks on first boot.🔒 Verify & checksum
Confirm the image boots locally and note its checksum. This helps you detect corruption before uploading and keeps reinstalls predictable.
Upload - Provision (Existing VPS)
Open the Installation tab
Sign in to the EDBB Control Panel, choose your VPS, and switch to the Installation tab.
Upload the qcow2 file
Drag & drop your qcow2 (or click browse). The Control Panel stores the image temporarily for this reinstall.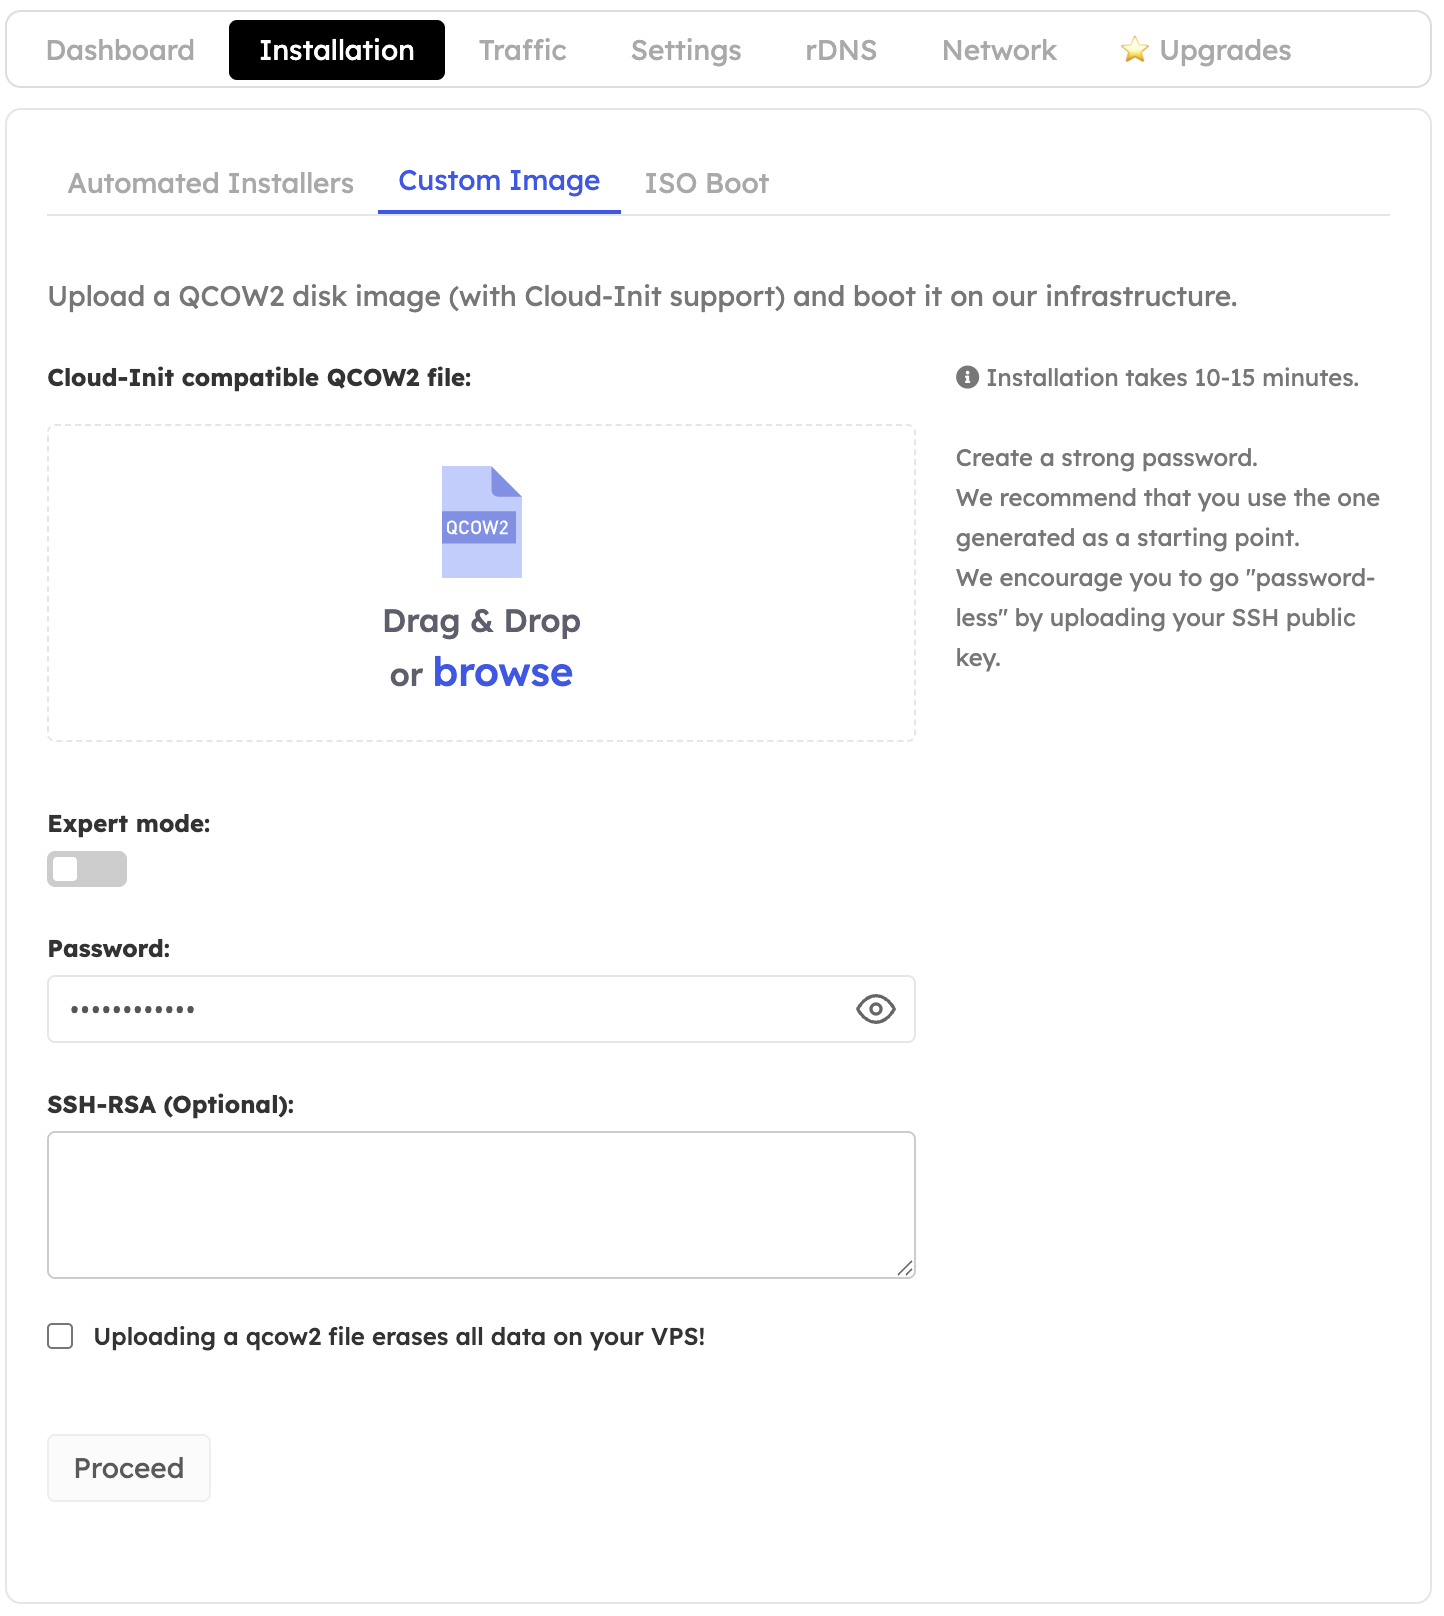
Configure Expert mode (optional)
Toggle Expert mode if you want to paste Cloud-Init user-data or SSH keys. Supply a strong password—or rely on keys only—and tick the confirmation acknowledging that the disk will be erased.
Uploading a qcow2 image removes the existing disk content permanently. Keep an external backup and verify the checksum of your image before you begin.
Sample cloud-config
Validate - Troubleshoot
- Run
sudo cloud-init status --waitafter first boot to confirm success. - Check
/var/log/cloud-init.logfor detailed logs if tasks fail. - Re-upload a revised image or update the YAML and rerun the installation if you need adjustments.