

Boot into rescue mode
1
Open ISO Boot
Sign in to the EDBB Control Panel, open your VPS and select Installation → ISO Boot. Save work and shut down the installed OS cleanly first if it still responds.
2
Mount the rescue ISO
Select the available Linux rescue image, such as SystemRescue, enable Force reset & boot from the selected ISO, then click Mount ISO. This interrupts the running VPS.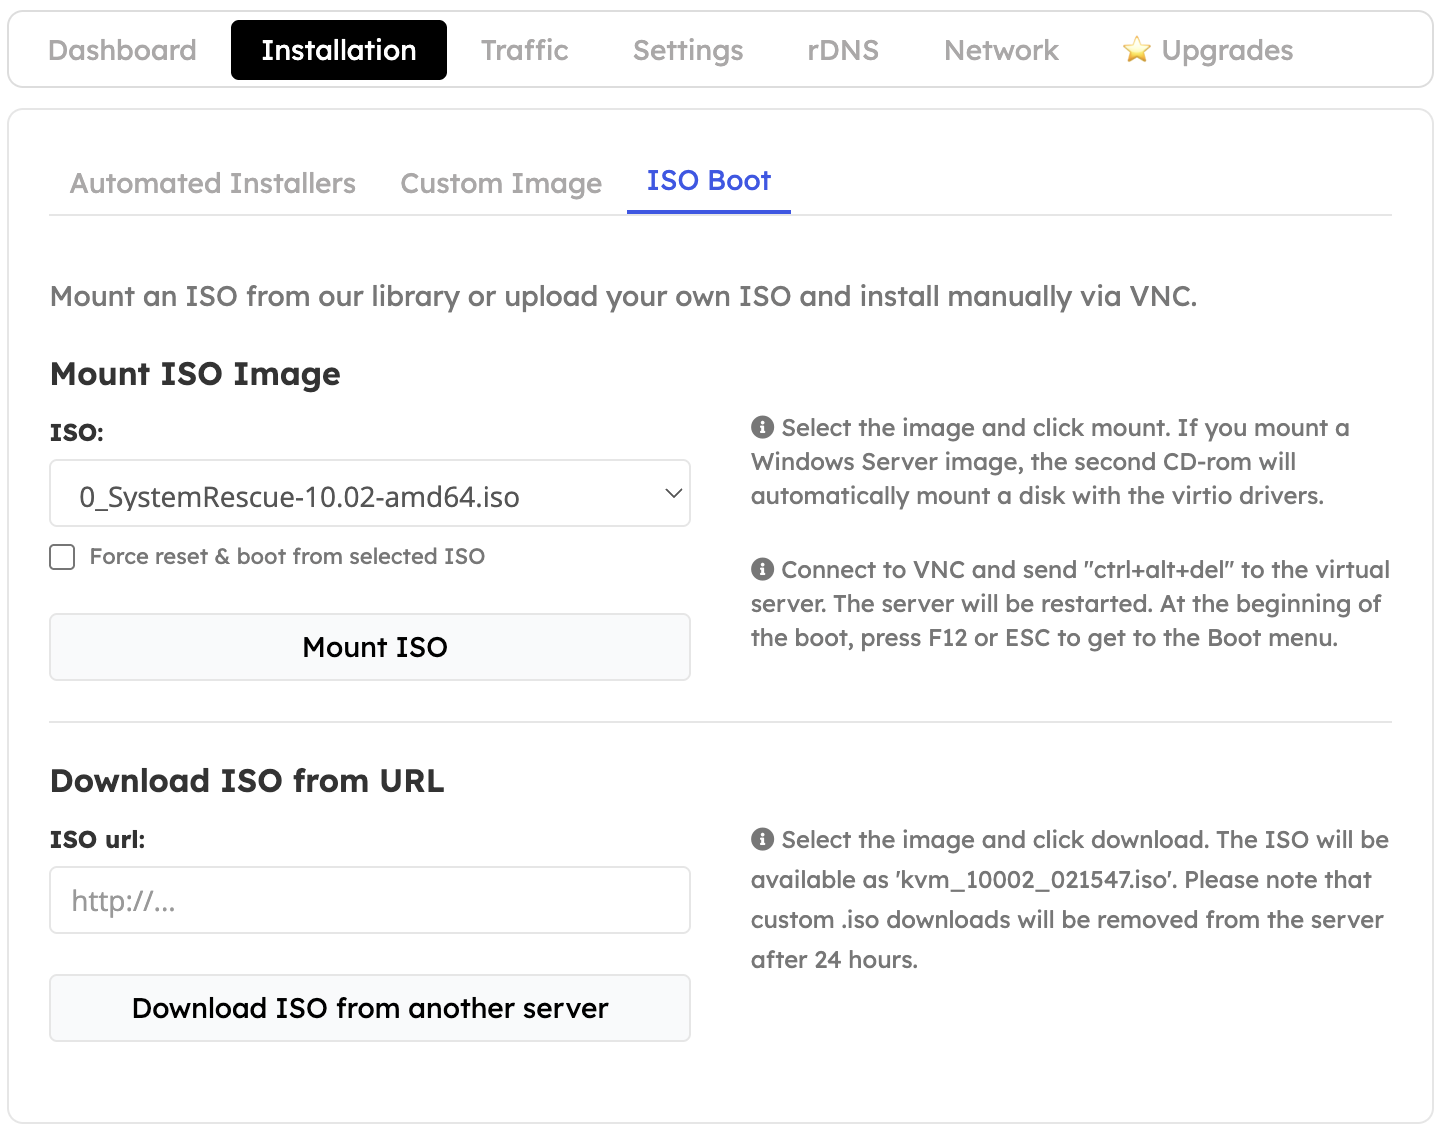
3
Open the console
Open the VNC console and follow the rescue image’s boot prompts. The shell now belongs to the rescue environment, not your installed Linux system.
Identify the installed system
List disks and filesystems before mounting anything:/dev/vda1 or a logical volume under /dev/mapper/. For LVM, inspect pvs, vgs and lvs; if the volumes are inactive, vgchange -ay activates them without formatting them.
The following example assumes the root filesystem is ext4 on /dev/vda1. Replace the device with the one you identified. Mount it without journal replay for an initial read-only inspection:
mount -o ro,norecovery /dev/YOUR_ROOT_DEVICE /mnt/system instead. These options are filesystem-specific. Stop if you cannot identify the filesystem or mounting reports damage.
Inspect the problem
The installed system’s files are now under/mnt/system:
You can copy needed files to a separate system before attempting repairs. Keep configuration backups and private keys secure.
Repair a known configuration mistake
Only proceed when you have identified the correct filesystem, have a backup and know which change to undo. Unmount the read-only filesystem before mounting it normally for editing. For the ext4 example:/etc/ssh in the rescue system changes the rescue environment. To edit your installation, use /mnt/system/etc/ssh. Likewise, stopping a service in rescue mode does not stop or repair the service in the installed system.