> ## Documentation Index
> Fetch the complete documentation index at: https://docs.edbb.com/llms.txt
> Use this file to discover all available pages before exploring further.
# Upload a Custom ISO Image
> EDBB lets you mount your own ISO images—install custom OS builds, appliances, or bare-metal backups directly from the Control Panel.
## Bring Your Own ISO
Uploading a custom ISO lets you boot recovery toolkits, bespoke installers, or
legacy operating systems that are not part of the EDBB library. The upload is
temporary—plan to install or capture data within the retention window.
***
## Quick Health Check
Host the ISO on a public HTTP/HTTPS URL without authentication, captchas, or
one-time tokens. Object storage with static links works best.
The VPS reboots when the ISO is mounted. Schedule a maintenance slot so users
aren’t surprised by downtime.
Keep the portal console (or your VNC client) ready—you’ll need it to interact
with the installer once the VPS boots from the image.
***
## Upload the ISO to the Control Panel
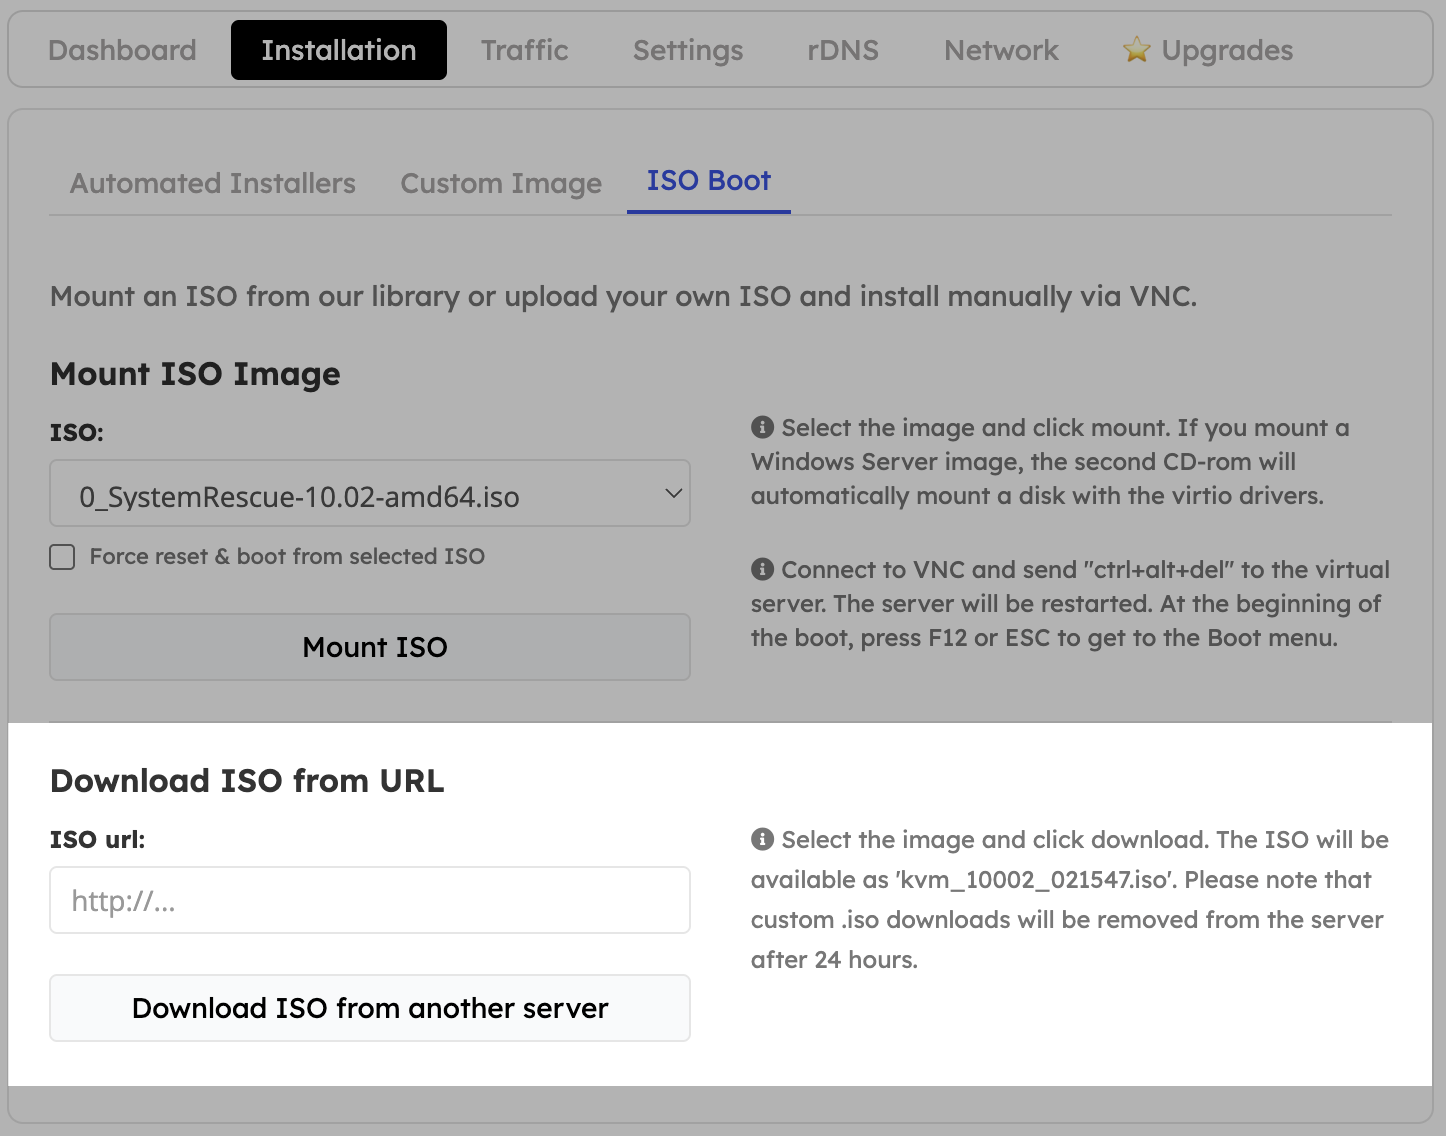
Sign in to the EDBB Control Panel, open your VPS, and switch to Installation. Choose the Custom Image tab.
Select Download ISO, paste the direct link (for example, [https://cdn.example.com/os/custom.iso](https://cdn.example.com/os/custom.iso)), and confirm.
The Control Panel downloads the file into your account. Leave the page open until the status changes to Ready.
Completed uploads receive an internal filename such as xxxx/iso/KVM\_custom\_12345.iso. Jot this down—you will select it in the mounting step.
***
## Mount and Boot the ISO
Stay on the Installation view and open the ISO Boot sub-tab.
Pick the uploaded ISO from the dropdown list and enable Force reset & boot from the selected ISO.
Click Mount ISO. The VPS reboots into the image—use the console to work through the installer or recovery environment.
Need a refresher on console controls or unmounting? Review the Mount ISO guide.
***
## Retention - Cleanup
* Custom ISOs stay available for **24 hours**. Re-upload them if you need another session later.
* For sensitive media, remove the ISO manually once you finish the installation.
* Keep local copies—expired files are purged automatically and cannot be restored.
Downloads that fail usually indicate an inaccessible URL. Verify the link by
running curl -I \ from an external network and ensure
it returns HTTP 200 without redirects.