> ## Documentation Index
> Fetch the complete documentation index at: https://docs.edbb.com/llms.txt
> Use this file to discover all available pages before exploring further.
# Mount an ISO Image
> Load recovery tools or custom installers by mounting an ISO directly from the EDBB Control Panel.
## Mount ISO Images from the Control Panel
Mounting an ISO temporarily changes the boot order. Be ready for the VPS to reboot and save any work before you proceed.
***
## Before You Start
Confirm you can sign in to the EDBB Control Panel and open the service Control Panel.
Plan a short outage—the VPS restarts when the ISO is attached.
Enable VNC via the quick actions (Server On column) or follow the VNC enable guide if it is currently disabled.
***
## Use the EDBB ISO Library
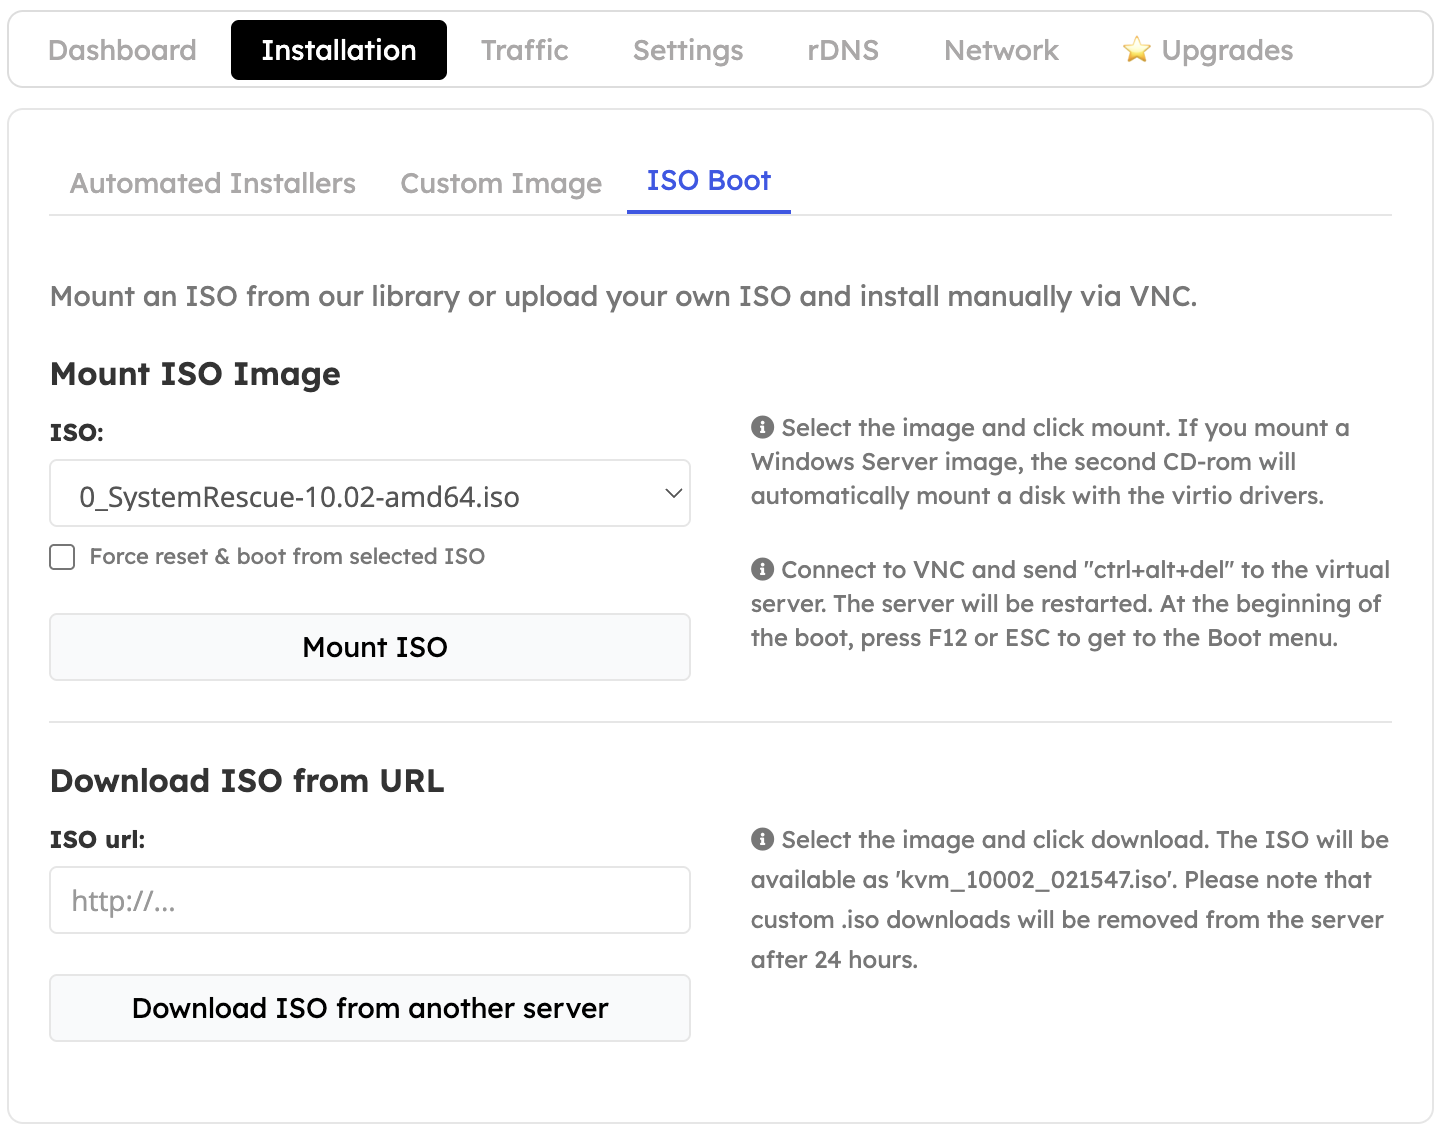
From your VPS Control Panel, switch to Installation, then the ISO Boot sub-tab.
Choose from the built-in helper images (Linux rescue tools, Windows password helper, etc.).
Tick Force reset & boot from the selected ISO, then click Mount ISO. The VPS reboots automatically into that image.
 ***
## Work from the Console
Click Open Console to open the portal console (or connect with your VNC client).
Most ISOs ask you to press a key quickly—watch the console so you don't miss the prompt.
Complete the installer or recovery steps. Leave the ISO mounted if you need multiple restarts.
***
## Unmount When Finished
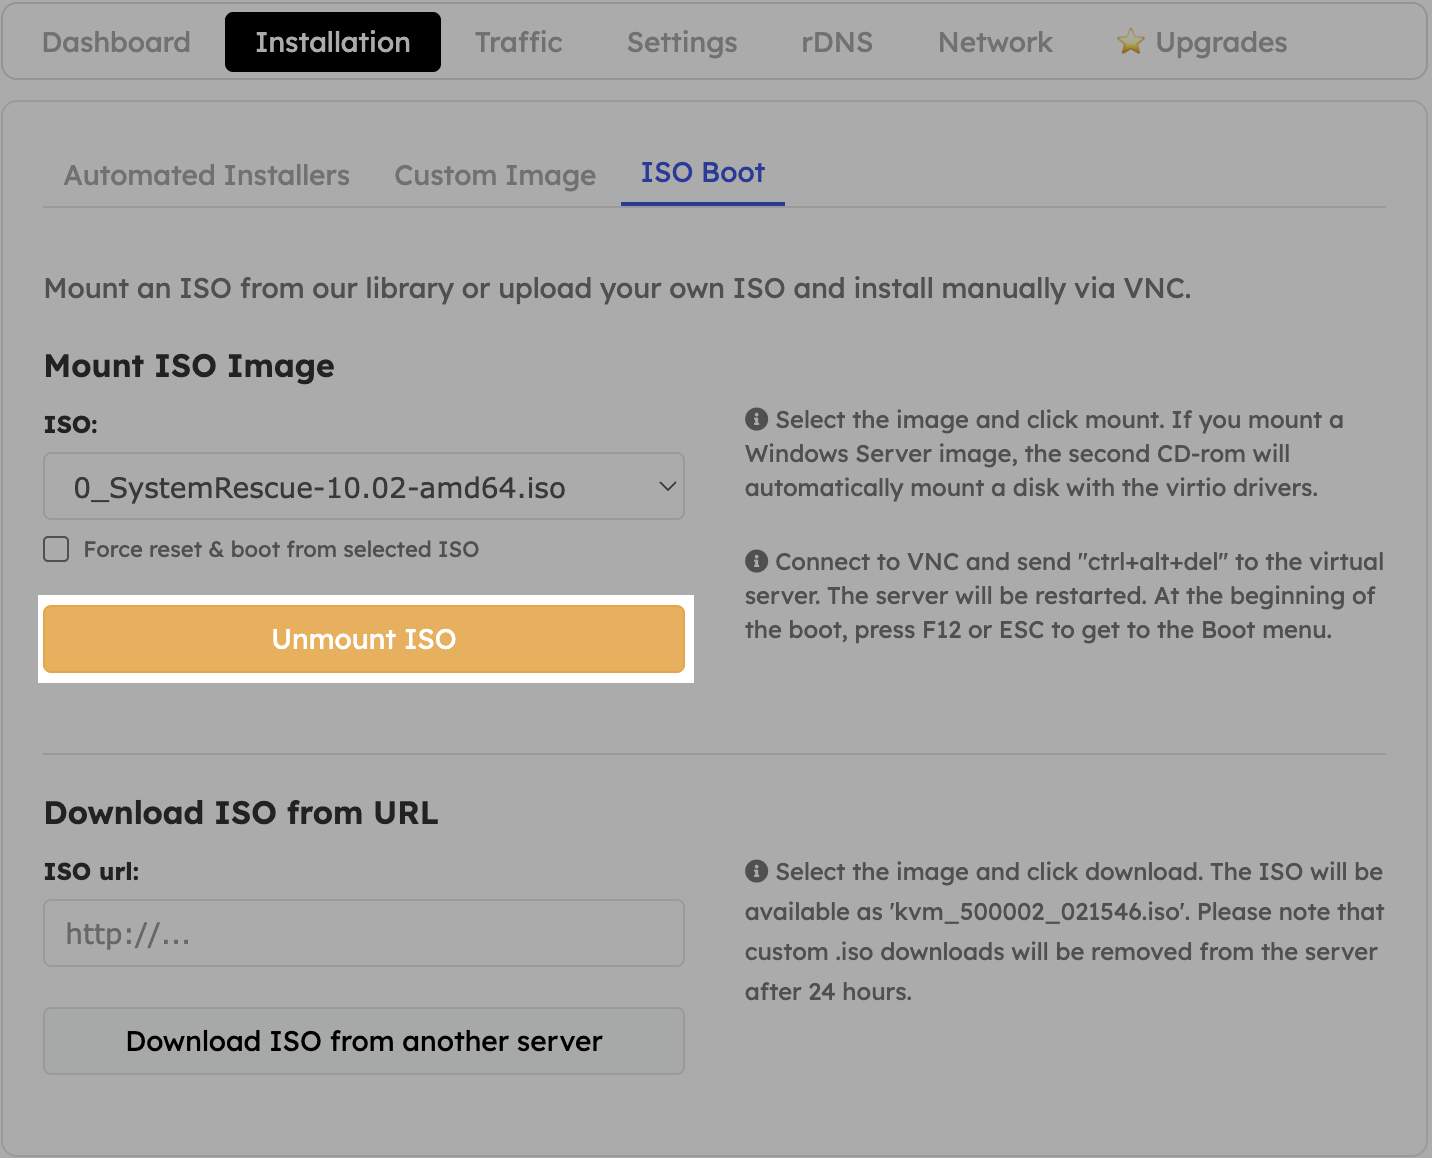
Go back to Installation → ISO Boot.
Click Unmount (or switch to Boot from local disk) so the VPS boots normally next time.
Use the Server On menu to restart the VPS from disk and disable VNC if you no longer need console access.
Unmounting ensures the VPS returns to its local disk on the next restart.
***
## Work from the Console
Click Open Console to open the portal console (or connect with your VNC client).
Most ISOs ask you to press a key quickly—watch the console so you don't miss the prompt.
Complete the installer or recovery steps. Leave the ISO mounted if you need multiple restarts.
***
## Unmount When Finished
Go back to Installation → ISO Boot.
Click Unmount (or switch to Boot from local disk) so the VPS boots normally next time.
Use the Server On menu to restart the VPS from disk and disable VNC if you no longer need console access.
Unmounting ensures the VPS returns to its local disk on the next restart.