> ## Documentation Index
> Fetch the complete documentation index at: https://docs.edbb.com/llms.txt
> Use this file to discover all available pages before exploring further.
# Reinstall Your VPS (Linux or Windows)
> Use the Installation tab in the EDBB Control Panel to reinstall your VPS with a fresh Linux or Windows OS and user-defined password or SSH-key.
export const CtaButton = ({label, link, openInNewTab}) =>
{label}
;
## Reinstall from the Installation Tab
Important: Reinstalling your VPS will permanently erase all data. Make sure you have backups before proceeding.
## Automated Installation in 5 Easy Steps
Sign in to the
EDBB Control Panel
Go to Services
and select the VPS you would like to reinstall.
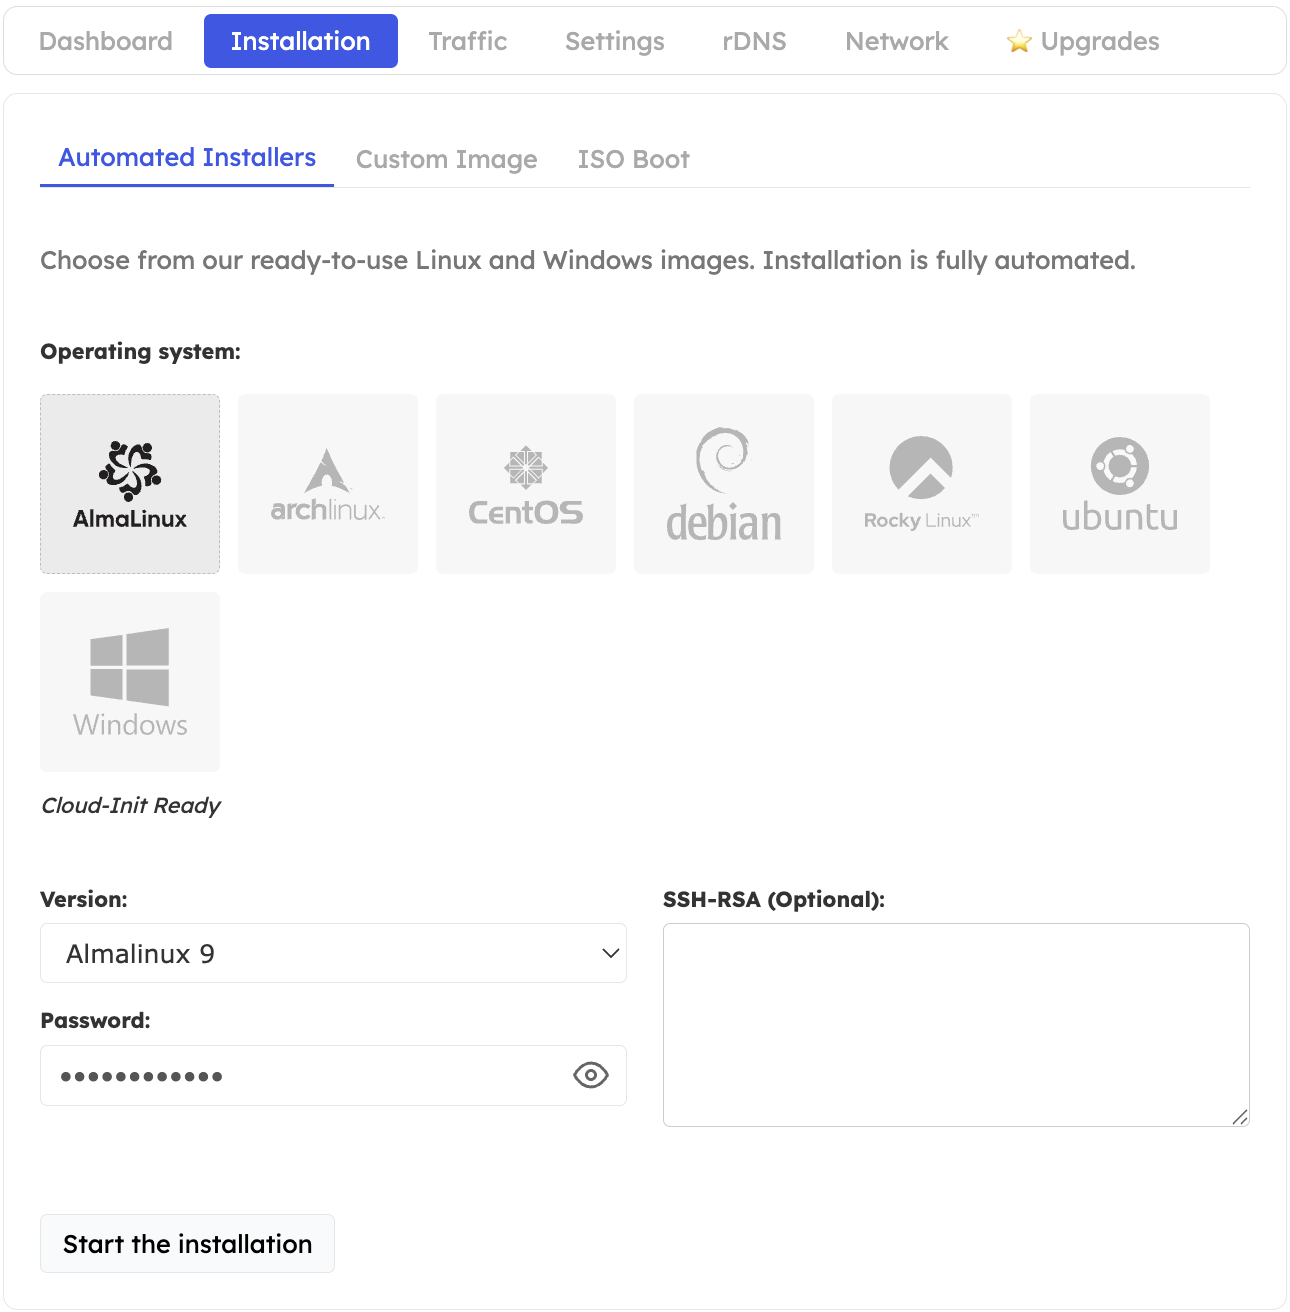
Use the Installation
tab on the service Control Panel, then stay on the default Automated Installers
view.
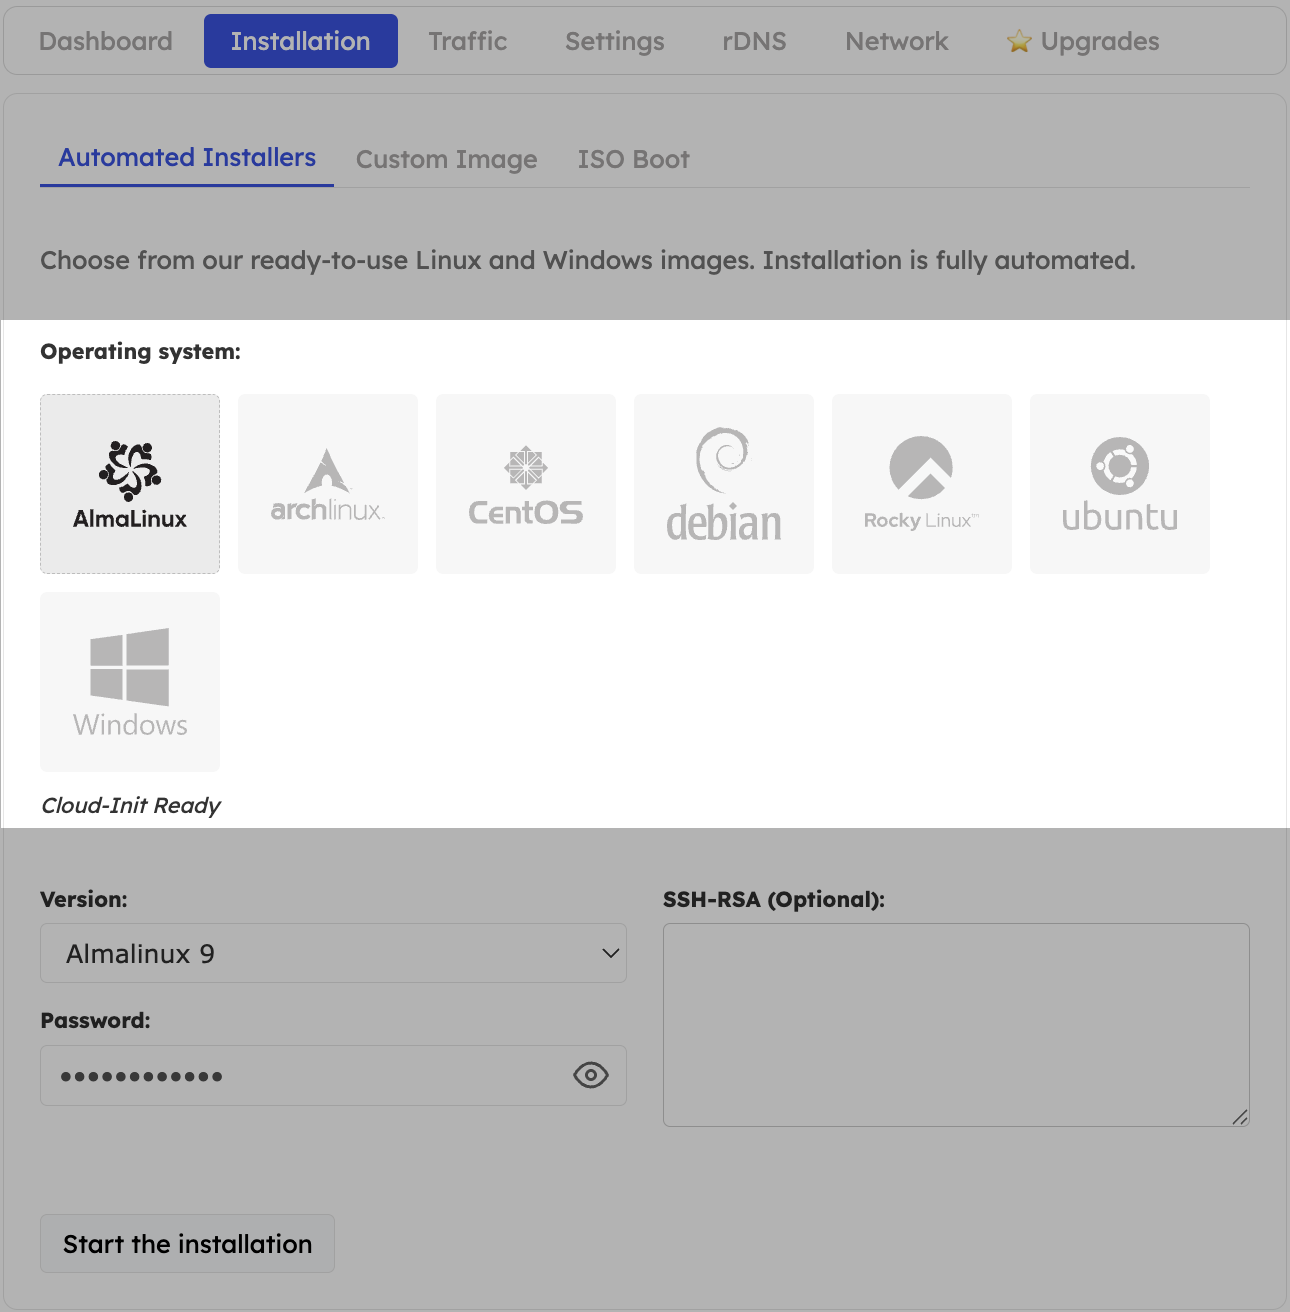
Click the tile of the OS family you would like to install (Ubuntu, Debian, Rocky, AlmaLinux, Windows Server, etc.). Windows 10 you find in the Windows Server section.
Use the dropdown below the OS family tile to pick the version/release you would like to install.
Enter a password (or paste an SSH public key) and click Start the installation.
Our Control Panel initiates the installation.
We do not send a new Welcome Email when you reinstall! The password you specify during installation will be your new root (Linux) or Windows Administrator password.
We do not send a new Welcome Email when you reinstall! The password you specify during installation will be your new root (Linux) or Windows Administrator password.
***
## Track Progress - then Connect
| OS | Approx. time | What happens / What to do |
| ----------- | ------------ | ----------------------------------------------------------------------------------------------------------------------------------------------------------------------------------------------------------------------------------------------------------- |
| **Linux** | **≈ 5 min** | AutoInstall provisions and reboots automatically — no extra clicks required. SSH is blocked during installation. Linux typically finishes installation in 5 minutes. When the status changes to *Running*, connect via **SSH** using the new root password. |
| **Windows** | **≈ 15 min** | RDP access is blocked during installation. When the status changes to *Running*, connect via **RDP** using the new Administrator password. Windows usually takes 15 minutes to install. |
The **Installation** tab streams logs while the image is provisioned. SSH/RDP ports stay closed until the job finishes.\
⚠️ Do **not** power off or reboot the VPS manually — AutoInstall restarts it automatically when the OS is ready.
***
## Install a Custom Image
Prefer to Bring Your Own .qcow2 image and/or run a cloud-init automation? Use the Cloud-Init workflow to keep full control over first boot actions.